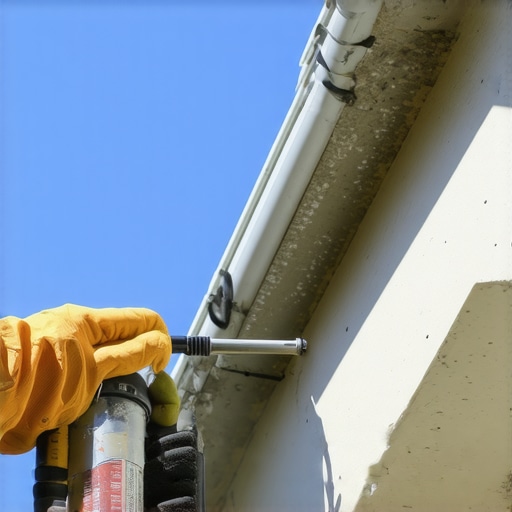
Water is a patient assassin. I have spent twenty-five years watching it dismantle homes piece by piece. Most homeowners look at their gutters and see a simple metal trough. I see a high-stakes hydraulic management system where the margin for error is measured in millimeters. When a gutter fails, it does not just get your lawn wet. It saturates the soil, increases hydrostatic pressure against your basement walls, and eventually cracks your foundation. I once inspected a sprawling estate in Charleston where the entire southeast corner of the foundation had settled nearly three inches. The culprit? A single miter joint where the sealant had dried and cracked ten years prior. That one-centimeter gap allowed thousands of gallons of water to pour directly into the soil next to the footings, turning the clay into a soup that could no longer support the weight of the house. That is the reality of poor gutter repair services. We are not just stopping leaks; we are protecting the structural integrity of your largest investment.
“Joints in gutters shall be lapped a minimum of 1 inch in the direction of flow and shall be sealed with a compatible sealant or soldered.” – SMACNA Architectural Sheet Metal Manual
The Physics of the Leak: Why Water Wicks
To understand why your corners are leaking, you have to understand surface tension and capillary action. During a heavy downpour, water does not always fall straight down. It clings to the underside of the gutter via the Coanda effect. If your end cap is not crimped and sealed with precision, water will find the path of least resistance, often wicking back toward the fascia board. Once moisture reaches the fascia, it begins to rot the wood, eventually compromising the hangers that hold the system in place. This is why a proper gutter installation requires more than just a few screws. It requires a deep understanding of how water moves at high velocity. In regions like the South where we deal with sudden tropical deluges, the volume of water can quickly overwhelm standard systems. This is why 6 inch or even 7 inch oversized gutters are often necessary to prevent overshoot, especially in a valley gutter installation where two large roof planes meet and funnel water into a single point at incredible speeds.
The Ultimate Gutter Sealant Checklist
Every leak-prone corner requires a systematic audit. Do not just squirt some silicone into a wet gap and call it a day. Silicone is the enemy of a long-term seal in this industry because it does not bond well to aluminum over time and cannot handle the extreme thermal expansion and contraction of metal. You need a high-quality tri-polymer sealant that remains flexible. Here is the checklist I use for every industrial gutter services project and residential upgrade.
1. The Miter Joint Integrity
The miter is the most common failure point. Whether you are using a box miter or a strip miter, the joint must be bone dry before application. I use a heat gun to ensure no moisture is trapped in the seam. The sealant must be applied on the inside of the gutter, not the outside. If you are sealing it from the outside, you have already lost the battle. The water pressure will eventually push the sealant away from the metal. A professional miter should be pop-riveted for mechanical strength before the sealant is tooled into the seam. This prevents the joint from opening up during the winter when the metal contracts.
2. End Cap Compression
End caps are often overlooked. A cheap installer will just slap them on and put a single screw in the bottom. A veteran specialist uses a specialized crimping tool to bite the end cap into the gutter rail, creating a mechanical bond. The sealant is then applied in a continuous bead along the inner channel. If you see water dripping from the very end of your gutter run, your end cap has failed, and your fascia is likely already drinking that water.
3. The Outlet Drop and Leader Connection
The outlet is the hole where the water exits the gutter and enters the leader or downspout. If this flange is not sealed correctly, water will leak between the gutter and the outlet. This is a primary cause of basement flooding because the water drops straight down against the foundation instead of being carried away. During any downspout relocation, we ensure the new outlet is positioned at the absolute lowest point of the pitch. If the pitch is off by even an eighth of an inch, standing water will sit at the outlet, leading to premature corrosion and a breeding ground for mosquitoes.
4. Valley Gutter Transitions and Splash Guards
Valleys are the “highways” of your roof. When it rains, the water velocity in a valley is triple that of the rest of the roof. If you do not have a splash guard installed at the bottom of the valley, the water will simply jump over the gutter. This is why a valley gutter installation must be paired with high-capacity miters and reinforced hangers. We often see homeowners complain about leaks when the real issue is simply volume and velocity. A gutter guard installation can sometimes exacerbate this by providing a slick surface for the water to slide over, which is why choosing the right mesh or hood is critical for the specific pitch of your roof.
“Downspouts shall be sized based on the rainfall intensity of the region and the roof surface area.” – International Plumbing Code, Section 1106
The Metal Roof Gutter Transition
Metal roofs present a unique challenge. Unlike asphalt shingles, metal has very little friction. Snow and rain slide off at a much higher rate of speed. A metal roof gutter transition requires the gutter to be hung slightly lower and tucked further under the drip edge to catch the water as it shoots off. We also use heavy-duty brackets spaced every 12 inches because the weight of sliding snow can rip a standard system right off the fascia. For these applications, we always recommend lifetime gutter guarantees that specifically cover the structural attachments, not just the finish of the metal.
Industrial Gutter Services and High-Volume Drainage
When dealing with industrial buildings or large warehouses, the scale of water management changes. We shift from inches to feet. Industrial gutter services involve heavy-gauge steel or thick aluminum box gutters. The expansion joints in these systems are critical. On a 100-foot run of industrial gutter, the metal can expand by over an inch during a hot summer day. If the sealant is not high-elongation tri-polymer, it will tear. This same logic applies to greenhouse gutter collection systems where the goal is often to harvest rainwater. Any leak in a greenhouse system is a loss of precious resources, requiring airtight seals at every elbow and leader connection.
The Role of Kickout Diverters
The kickout diverter is a small piece of flashing that saves thousands of dollars in siding and wall repairs. Where a roof line meets a vertical wall, the water must be forced into the gutter. Without a kickout diverter installation, that water will find its way behind the siding and into the wall cavity. I have seen entire walls rotted out because of a missing five-dollar piece of plastic or metal. It is the most critical part of the drainage hierarchy that most people have never heard of.
Final Verdict on Maintenance
I tell every client the same thing: there is no such thing as a maintenance-free house. Even with the best gutter guard installation, you need to inspect your miters and outlets once a year. Look for the “telltale signs” of failure: tiger-striping on the front of the gutter, peeling paint on the soffit, or small mounds of eroded soil directly beneath a corner. If you catch a sealant failure early, it is a simple fix. If you wait until the basement is damp, you are looking at a full-scale excavation. Your gutters are the first line of defense. Keep them pitched, keep them sealed, and keep the water moving away from your home. This is the only way to ensure your foundation stays dry and your fascia stays solid for the next thirty years. Dry feet and a dry foundation are the hallmarks of a well-engineered home.