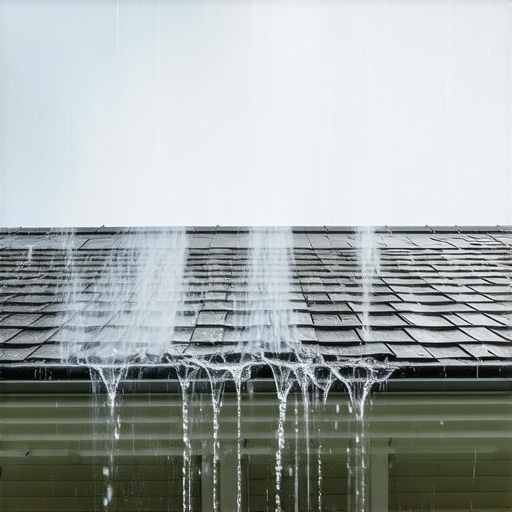
The Destructive Power of Improper Drainage
Rain is not just a weather event: it is a hydraulic assault on your home structural integrity. After twenty five years in the gutter and exterior drainage industry, I have seen water do things that would keep most homeowners awake at night. I once walked around a property in coastal Louisiana where the north corner of the slab foundation had settled nearly three inches into the gumbo soil. The owner was baffled, but the cause was staring me in the face: a fifty foot run of gutter was served by a single, undersized two by three inch leader that had been clogged with pine needles for three years. That lone downspout was dumping thousands of gallons of concentrated hydraulic pressure directly against the footings during every tropical storm. The soil saturated, the pressure mounted, and the house eventually gave way to gravity. This is why engineering your drainage system is not optional. It is the difference between a dry basement and a five figure foundation repair bill.
The Math of Water Management
Calculating the exact downspout count for heavy rain areas requires more than just a guess. You have to understand the math of the roof. Most contractors use a generic rule of thumb like one downspout for every forty feet. In high volume rain zones, that rule is a recipe for disaster. We have to look at the total square footage of the roof surface and the rainfall intensity of your specific region. During a heavy downpour, water does not just fall: it gains velocity as it slides down the shingles. If you have solar panels, the water moves even faster because the glass surface has almost zero friction compared to asphalt shingles. This is where solar panel gutter avoidance and strategy come into play: you must account for that increased flow velocity by adding more collection points.
“Downspouts shall be sized based on the rainfall intensity of the region and the roof surface area.” – International Plumbing Code, Section 1106
To calculate your needs, start by measuring the footprint of each roof plane. Do not just measure the shingles: measure the horizontal projection. If you have a one thousand square foot roof area and your region sees four inches of rain per hour during peak storms, you are dealing with a massive volume of water. A standard two by three inch leader can handle about six hundred square feet of roof in a standard rain, but in a heavy rain area, that capacity drops significantly. I always recommend upgrading to three by four inch oversized leaders. These allow for nearly double the flow and are far less likely to clog with the organic sludge that necessitates vacuum gutter extraction later. For storm-resistant gutters, the pitch or slope is equally critical. You need at least one eighth to one quarter inch of slope for every ten feet of gutter run to ensure that water moves toward the leader and does not pool in the middle of the fascia.
The Anatomy of the System
A high performance drainage system starts with proper drip edge integration. If the drip edge is not tucked into the gutter, water will find the gap behind the hanger and rot out your fascia and soffit. This is a common failure point I see in amateur box gutter installation. Once the water is in the trough, it needs to stay there. In high velocity areas, water can overshoot the gutter entirely. This is why a shingle roof gutter starter and the correct hanger spacing are vital. In heavy rain regions, I space heavy duty hangers every twelve to eighteen inches rather than the standard thirty two. This prevents the gutter from sagging under the weight of a full trough of water, which can weigh hundreds of pounds during a deluge.
“The size of the gutter shall be determined by the maximum roof area and the rainfall intensity.” – SMACNA Architectural Sheet Metal Manual
Selecting the Right Protection
When it comes to keeping those gutters clear, not all guards are created equal. In heavy rain areas, the surface tension of the water is your enemy. Many helmet style guards rely on surface tension to pull water into the gutter, but during a gully washer, the water moves too fast and simply shoots over the edge, eroding your landscaping and flooding your crawlspace. For these environments, a high flow gutter screen installation or perforated stainless steel mesh is often superior. If you are dealing with heavy needle debris, brush gutter guards can provide a temporary buffer, but they require more frequent maintenance. The goal of any gutter guard installation should be to maximize water intake while minimizing debris entry. No guard is truly maintenance free, but the right one reduces the frequency of cleanings while ensuring your storm resistant gutters do not overflow during the first big hit of the season.
Advanced Drainage and the Hierarchy of Flow
Once the water leaves the leader, the job is only half done. Dumping water at the base of the foundation is a cardinal sin of drainage. In heavy rain areas, you must move that water at least ten feet away from the structure. This involves a hierarchy of drainage: first, the downspout; second, the extension; and third, the underground transition. I prefer using solid PVC pipe for underground runs, terminating in a pop up emitter or a French drain system. This prevents the swampy yard syndrome that often follows a major storm. If you live in a region where winter brings a mix of heavy rain and freezing temperatures, ice dam prevention becomes the next priority. Heat tape or specialized snow guards can prevent the weight of ice from ripping the entire system off the house. Every miter, every end cap, and every elbow must be sealed and secured with high grade gutter sealant to withstand the expansion and contraction of the seasons. Remember: water is patient. It will find the smallest leak in your miter or the slightest dip in your pitch and exploit it until your home starts to rot. Do the math, over-engineer the hangers, and ensure your leaders are sized for the worst storm, not the average one.